
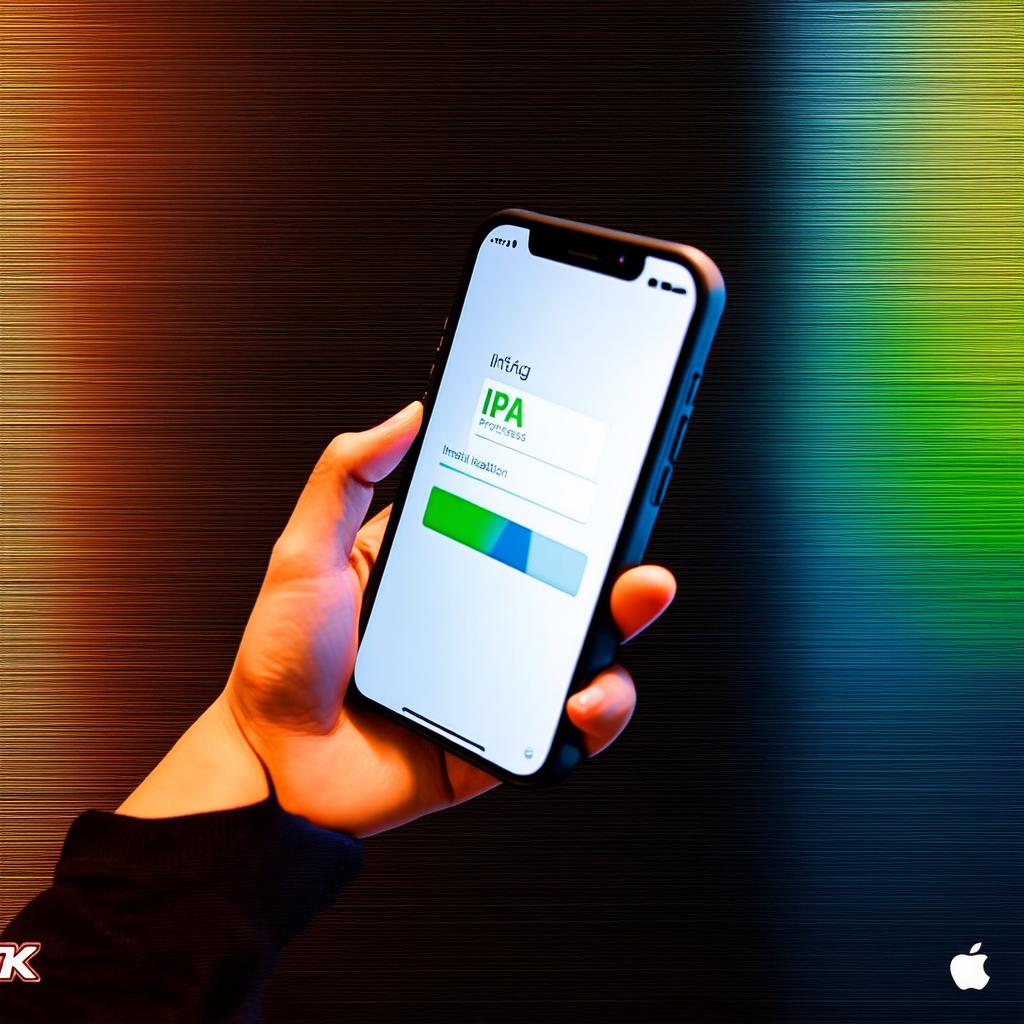
What is an IPA File?
IPA stands for “iPhone Package.” It is a file format used to distribute iOS apps on Apple’s App Store. An IPA file contains all the assets needed for an iOS app, including code, resources, and other files required for the app to run.
Benefits of Using IPA Files in iOS Development
There are several benefits to using IPA files in iOS development:
- Simplified App Distribution: With an IPA file, you can easily distribute your app to your target audience on the App Store. The file format is designed for seamless integration with Apple’s distribution platform, making it easy to upload and publish your app.
- Improved Performance: IPA files are optimized for performance, ensuring that your app runs smoothly and efficiently on iOS devices. By minimizing the size of the file, you can reduce load times and improve overall user experience.
- Enhanced Security: IPA files include several security features that help protect your app from malicious attacks and unauthorized access. By encrypting your app’s code, you can prevent hackers from reverse-engineering or modifying your app.
- Better Compatibility: IPA files are specifically designed for iOS devices, ensuring that your app is fully compatible with the platform. This helps to avoid compatibility issues and crashes, resulting in a better user experience.
How to Use IPA Files Effectively in iOS Development
To use IPA files effectively in iOS development, follow these steps:
- Create an IPA File: Once you’ve completed development on your app, you can create an IPA file using Xcode. To do this, go to the Product menu and select “Build Settings.” From there, click on the “Provisioning Profiles” tab and select your distribution profile. Then, click on the “Create File” button and choose “iPhone App Package.”
- Upload to the App Store: Once you have your IPA file, you can upload it to the App Store using iTunes Connect. To do this, go to the iTunes Connect website, log in with your Apple ID, and click on the “My Apps” tab. From there, select your app and click on the “Upload Build” button. Choose your IPA file and follow the prompts to complete the upload process.
- Promote Your App: Once your app is live on the App Store, you can promote it through various channels, including social media, email marketing, and paid advertising. By creating a buzz around your app, you can drive more downloads and increase its visibility.
Case Study: The Development of “Picture in Picture” App
Let’s take a look at an example of how IPA files were used in the development of the popular “Picture in Picture” app. The app allows users to watch videos while using other apps simultaneously, making it an excellent tool for multitasking.
FAQs
Q: Can I use IPA files for testing my app?
A: Yes, you can use IPA files to test your app on an iOS device or simulator. To do this, go to the Product menu in Xcode and select “Build Settings.” From there, click on the “Provisioning Profiles” tab and select your development profile. Then, choose “Create File” and select “iPhone App Package.” This will create a test IPA file that you can use for testing purposes.
Q: Can I distribute my app outside of the App Store?
A: Yes, you can distribute your app outside of the App Store using an IPA file. However, this is not allowed by Apple’s terms of service and may result in your app being removed from the store. It’s best to follow Apple’s guidelines for app distribution to avoid any legal issues.
Q: How do I create a development profile for my IPA file?
A: To create a development profile for your IPA file, go to the “Provisioning Profiles” tab in Xcode’s Build Settings menu. From there, click on the “Create Profile” button and follow the prompts to create a new profile.