
Introduction
Android and iOS are the two biggest mobile operating systems in the world, with billions of active users. If you want to expand your app’s reach to both platforms, it makes sense to create an iOS version as well. However, this can be a daunting task for developers who are not familiar with both platforms.
Step 1: Choose Your Development Environment
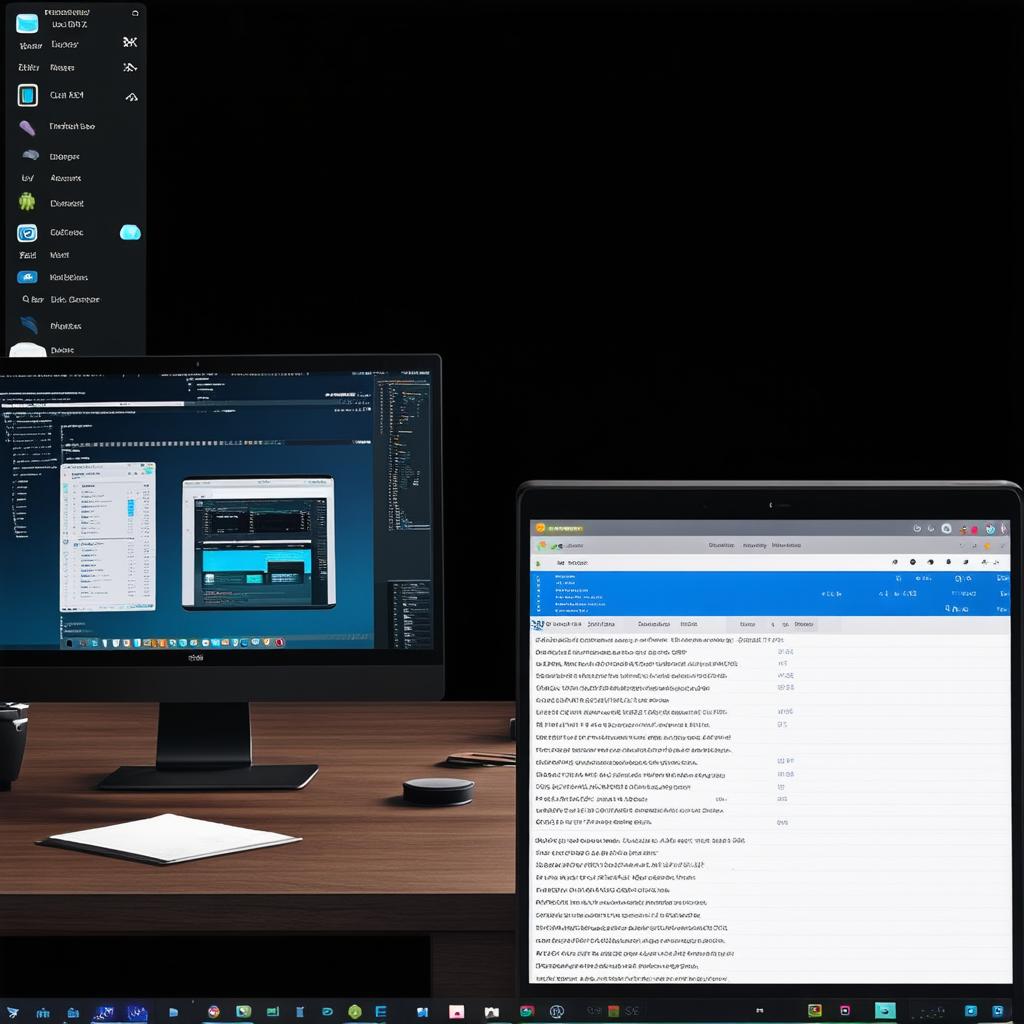
The first step in porting your Android app to iOS is to choose your development environment. You can use Xcode, which is Apple’s integrated development environment (IDE), or you can use Android Studio, which is Google’s IDE for Android development. If you are already using Android Studio, it may be easier to use that for the conversion process as well. However, if you have never used either of these tools, Xcode is a good choice as it is specifically designed for iOS development.
Step 2: Understand Your Target Audience
Before you start the conversion process, it’s important to understand your target audience and what they are looking for in an app. This will help you make design and functionality decisions that will resonate with them. For example, iOS users tend to have higher expectations when it comes to user experience and interface design, so you may need to invest more time in creating a visually appealing app.
Step 3: Analyze Your Codebase
The next step is to analyze your codebase and identify any differences between the Android and iOS versions of your app. This will help you determine which parts of your app need to be rewritten for the new platform. Some of the key areas to consider include:
- User Interface (UI) design
- Data storage and retrieval
- Networking and API calls
- Security and privacy
- Performance optimization

Step 4: Port Your App to iOS
Once you have analyzed your codebase, it’s time to start the porting process. There are several tools available that can help with this, including Swiftify for converting Java code to Swift and Objective-C code, and AutoLayout for creating layouts that work on both iOS and Android devices. It’s important to test your app thoroughly during the conversion process to ensure that it works as expected on the new platform.
Step 5: Optimize Your App for iOS
Once you have ported your app to iOS, it’s time to optimize it for the new platform. This includes:
- Ensuring that your app meets Apple’s guidelines for app submission
- Using Apple-specific features and APIs where appropriate
- Creating an icon and screenshots that are optimized for the iOS app store
- Testing your app thoroughly to ensure that it works as expected on both platforms
Step 6: Publish Your App to the App Store
The final step is to publish your app to the App Store. This involves submitting your app to Apple and following their guidelines for app submission. It’s important to ensure that your app meets all of their requirements before publishing, as Apple has strict policies regarding app content and functionality. Once your app is approved, it will be available for download on the App Store.